

Hearth pads are designed to protect the area around a free-standing stove. With wood stoves burning cleaner and hotter than ever before, it is crucial to ensure that you have proper thermal protection for the combustible floor beneath your stove. Building codes and safety standards now require the hearth pad to provide adequate protection based on your stove model. A hearth pad, if made well, can add beauty to your home. Below, you will find a few tips on how to create a hearth pad that will not only provide appropriate protection, but will also allow you to bring your own style to this hearth essential.
NOTE: Generally speaking, wood stoves require 48” or larger to protect from falling embers. Pellet, gas, electric, corn, and oil can be installed on smaller pads. Consult your stove’s owner’s manual for specific sizing requirements.
Things You’ll Need:
|
|
|
|
|
|
|
|
|
|
|
|
|
|
|
|
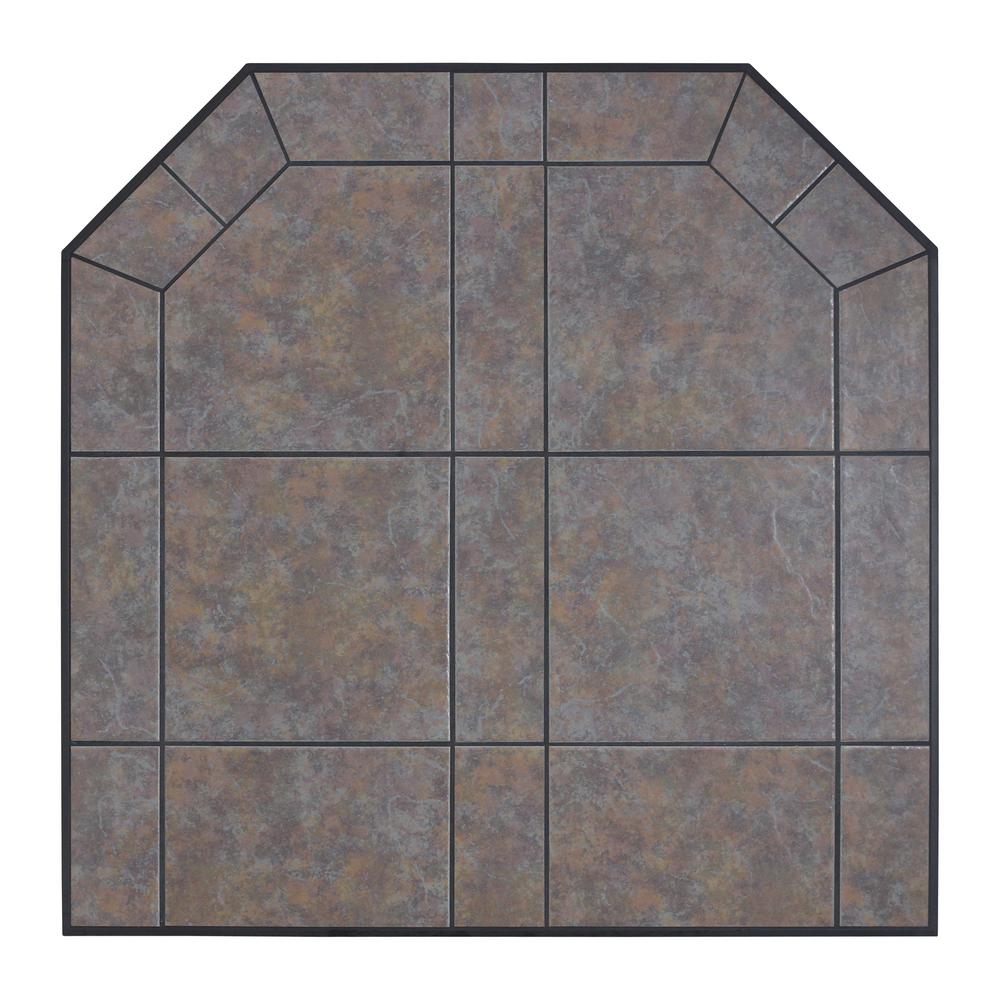
1. Read your owner’s manual to determine the appropriate clearance space and insulation requirements. Design the desired shape of your pad ensuring that it meets the recommended clearance.
2. Draw the desired shape onto the plywood and the backer board.
3. Cut the plywood with the table saw or hand saw and the backer board with a utility knife.
4. Set the plywood in position and use the deck screws to secure it to the floor, spacing the screws about 8-10” apart around the edge, and putting just a few screws in the center.
5. Place the backer board over the plywood and screw it down using the backer board screws.
6. Dry set the tiles on the top of the hearth to work out the tile design starting from the front edge working backward and outward. Use the tile spacers to space the tiles evenly. Then, remove the tiles and set them aside.
7. Spread a ⅛” layer of mortar on the pad starting at the front spreading only enough for about 4-5 tiles. Use the notched edge of your trowel to make furrows in the mortar.
8. Gently press the tiles down into the mortar, spacing as you did during the dry set, using the spacers. Continue in this manner until you are left with the tiles that need to be cut or trimmed.
9. Put on your eye protection; then, cut the tiles that need to be resized to fit your design with your tile nippers.
10. Spread thin-set mortar on the back of these tiles; press the tiles into position.
11. Remove all the tile spacers and let the pad sit for at least 24 hours to let the mortar set.
12. Sweep grout into the joints between the tiles with your grout float holding it at a 45-degree angle to the hearth pad. Grout all joints in this manner EXCEPT the ones between the edge tile and floor.
13. Wipe off the extra grout with a damp rag or a damp sponge; then, wait for at least 30 minutes before cleaning any left behind grout residue with a fresh damp rag or sponge.
14. Fill in the last joints with caulk. Wet your finger and use it to smooth over the caulk line.
15. Let your hearth pad set for at least 3 days before installing your stove on it.
Creating your own hearth pad is a rewarding project that combines both safety and style—but it's just the beginning when it comes to DIY stove care. From building hearth pads to troubleshooting common part failures, Mountain View Hearth Products is here to help you make the most of your hearth appliance. Be sure to explore our full blog for more DIY tutorials, service tips, and expert advice to keep your wood, pellet, or gas stove operating efficiently and safely all year long.